


Creating a Blog on WordPress can be a transformative journey, offering a platform to share your insights, stories, and expertise with the world. Whether you’re a seasoned writer or new to the digital realm, this step-by-step guide will navigate you through the process of creating a blog on WordPress.

In this post, we’ll walk you through the steps needed for Creating a Blog on WordPress. Or, if you’d rather follow along with a video, check out this comprehensive walkthrough created by Elementor:
Table of Contents
- Steps for Creating a Blog on WordPress
- 1. Add a new post
- 2. Add content
- Uploading Images
- Adding Links
- 3. Format the post
- Heading
Steps for Creating a Blog on WordPress
1. Add a new post
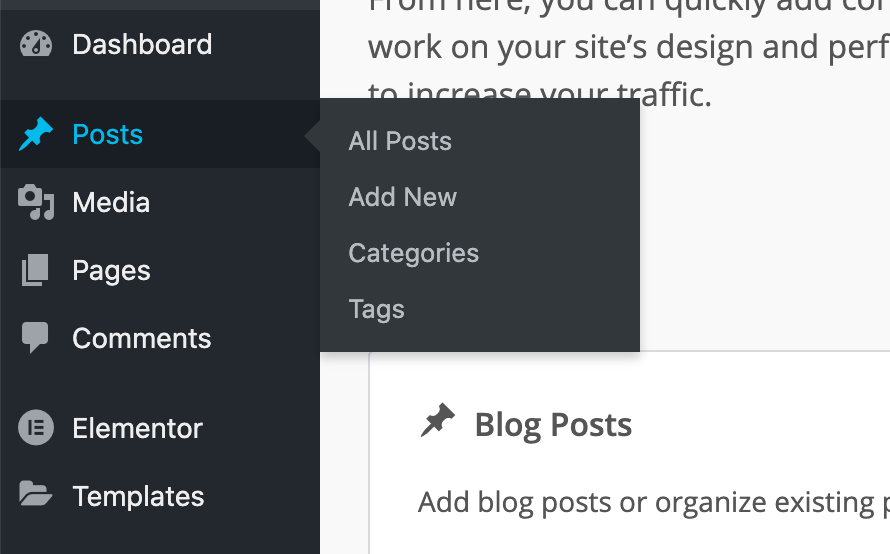
The first thing you need to do to get your WordPress blog off the ground is create a post. We’ve created an example you can follow to help you Creating a Blog on WordPress. First, log in to your WordPress administrator area and select “Posts” from the menu options on the left. Then, select “All Posts” in the dialogue box that appears.
Pro Tip: As you add more content to your blog, there may be circumstances when you need to select multiple articles simultaneously. To do so, you can select the “Bulk Actions” button on the All Posts homepage.
2. Add content
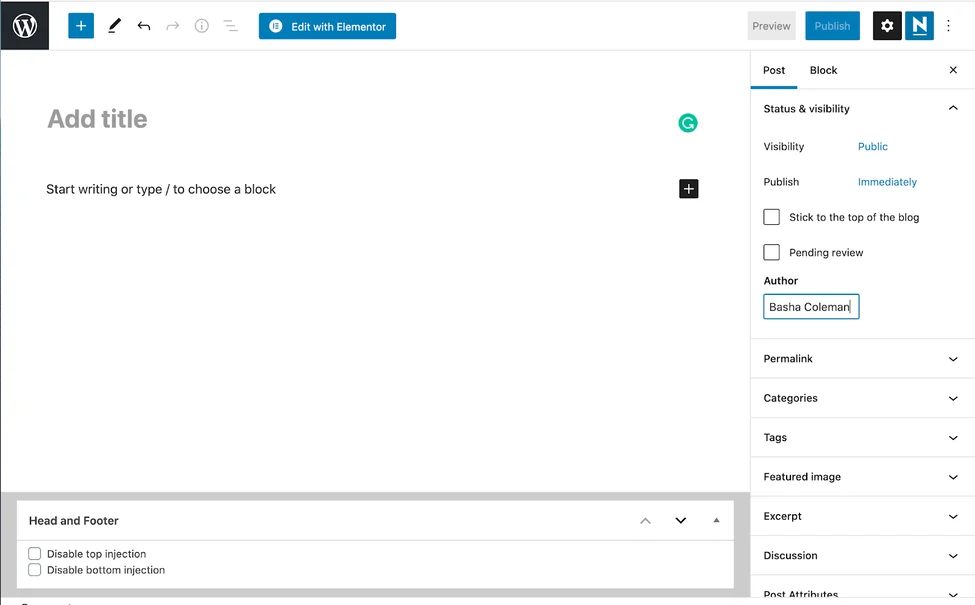
You’ve arrived where you’ll add your masterpiece (AKA your content) for Creating a Blog on WordPress. But before starting this process, we have a few pointers. First, be sure to save your work frequently or write it in a separate Google or Word document and copy it over to the content management systems (CMS). This is a wise idea because, while WordPress does save your progress automatically, it might not pick up on changes made if you lose your internet connection. Not to mention, drafting your content in a separate document is a good idea so you don’t get overwhelmed by simultaneously formatting, editing, and writing. Click the “Save draft” button in the upper right-hand corner to save.”
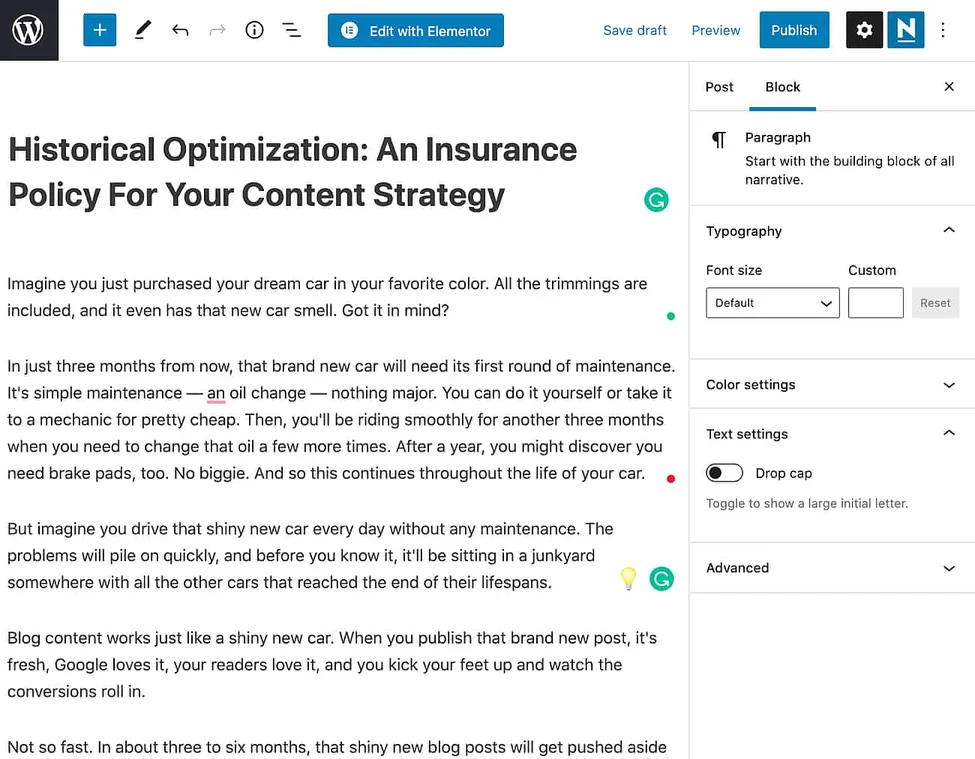
WordPress uses a block editor, which works exactly as you’d imagine — by creating blocks for each section of content you add. For example, paragraphs will be separated into blocks, as will images and headings.
Uploading Images
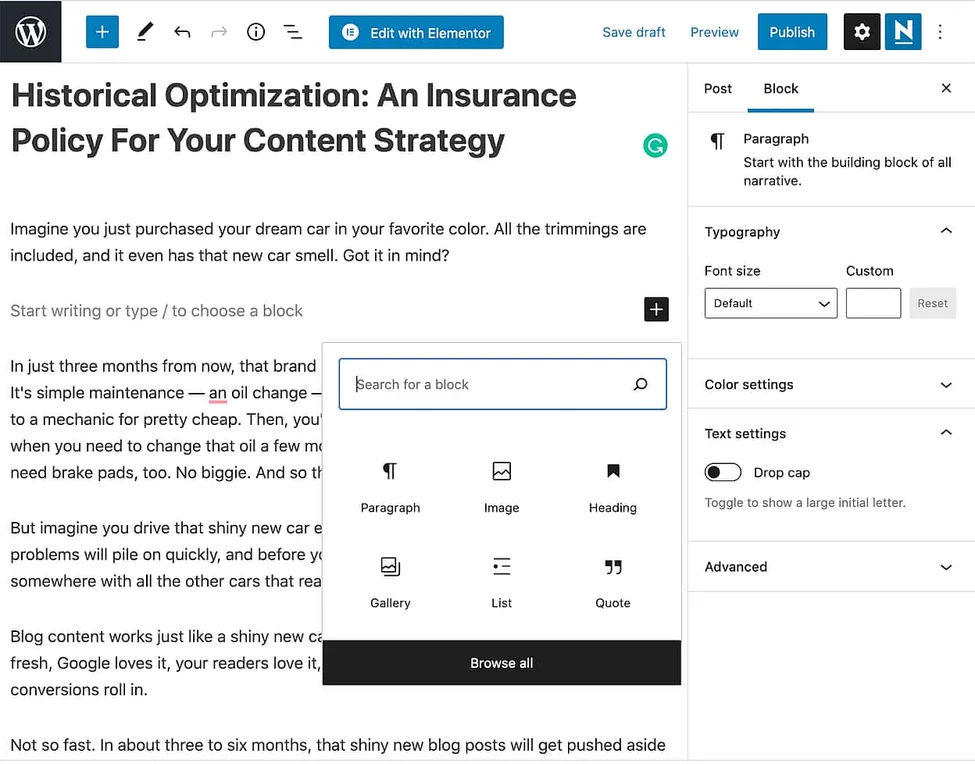
Once you’ve written your first piece, you’ll need to add images to your WordPress blog post. Adding images can make your content more digestible and visually engaging. To begin uploading a picture, press “enter” on your keyboard to create a new block. Then, click the “+” button in the top left corner to view the different blocks. Select the “Image” block.
Now, upload your image. You can either upload one from your computer, select one from the WordPress media library, or insert an image with a URL from a site like Flickr. Don’t forget to add alt text to your image for accessibility and search engine optimization.
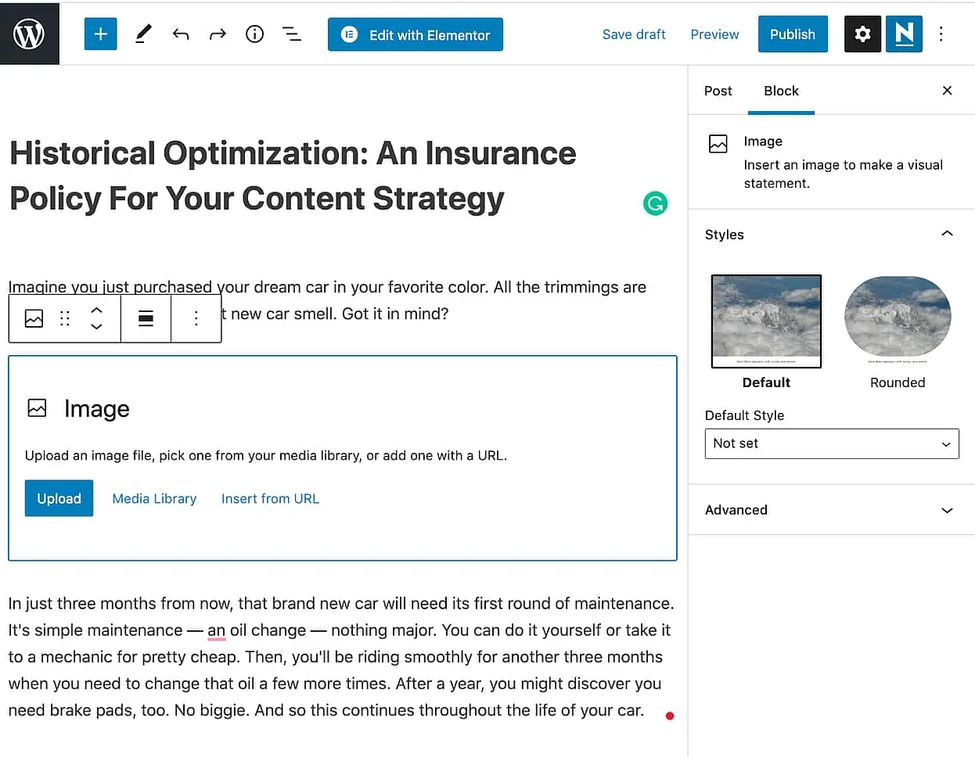
Once you’ve completed this step, your image should be visible in the block. You can repeat this process as necessary — if your article is long, we suggest adding a few images to break up the text and make it more readable.
Adding Links
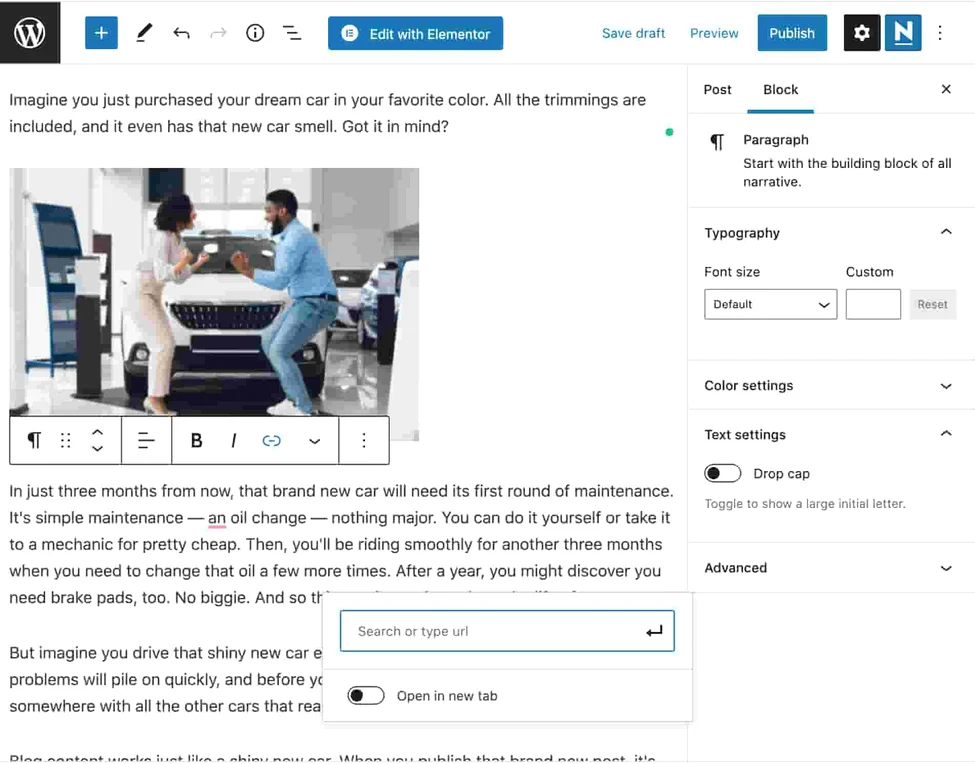
Adding internal and external links is an essential way to boost your blog post quality. The anchor text is also crucial for SEO as it indicates to site crawlers what the page you’re linking to is about. It’s easy to add hyperlinks to your content in WordPress. You can do so in two ways. The first way is to select the text you want to hyperlink. Then, find the floating menu box and select the link icon highlighted in blue below.
3. Format the post
Spoiler alert: It’s just as important that your content is organized as it is well-written. Without formatting in place, your audience is more likely to get overwhelmed by massive blocks of text and leave the page quickly (therefore impacting your bounce rate). Here’s how to format your post. Pro Tip: Readers don’t want to spend time figuring out how to navigate your post, so make it easy for them with clear formatting. We’ll dive into how you can do so now.
Heading
To organize a blog post, use headings. Headings tell the reader (and the search engines) what is essential on the page using a hierarchy. It’s a win-win: Your readers know what to expect, and your site is more findable for search engines. Plus, it allows your readers to better pace their reading experience. And that’s not to mention how it makes your blog post look better aesthetically speaking.
Here’s how it works: An H1 is the title of a page and lives at the top of the hierarchy and the top of the page. A blog post only has one H1. If you add more, you risk confusing Google — and your reader. In other words, don’t do it.
H2s are subheadings. You might have one, two, or more of these in your post. H2s are next in line in the hierarchy of a blog post. They always go below an H1, and if you’re trying to rank for a keyword on Google, it’s a good idea to try to include it in at least a few H2s — without keyword stuffing, of course. H3s follow a similar order — they always go below H2s. Think of an H3 as a subcategory. All subsequent headings follow the same pattern.
Let’s walk through an example. Say you’re writing a blog post about the best dog breeds for families. Your H1 could be: “The 10 Best Dog Breeds for Families.” Your H2s could be: “Why choose a family-friendly dog breed?” and “What are the best dog breeds for families?” Under the second H2, you could elaborate on breeds that are recommended. To do this, add H3s such as “Golden Retriever,” “Labrador Retriever,” “Cavalier King Charles Spaniel.” And under each H3 you may add an H4s such as “Why Choose This Breed” where you can provide additional information.
This results in a more digestible experience for readers and search engines.
To change a heading in a WordPress blog post, find the menu box and select the paragraph button highlighted in blue.